
How to build a sauna room: the real sequence
A sauna is not complicated carpentry. What makes it fail is a small number of details that look optional and are not — chiefly the vapour barrier, the ventilation and the heater sizing.
This is the sequence we work to. If you are doing it yourself or briefing a joiner, the parts to be inflexible about are marked.
1. Measure the volume, not the floor
Width by depth by ceiling height gives you cubic metres, and that is what sizes the heater. Roughly 1kW per cubic metre, plus about 1kW for each square metre of glass.
Keep the ceiling between 2.0 and 2.2 metres. Anything higher wastes heater capacity warming air above head height that nobody benefits from. If the room is taller, drop a false ceiling — it is cheaper than the larger heater you would otherwise need forever.
2. Frame, and leave the vent openings now
Treated timber studs at 400 to 600mm centres. Frame the low air inlet beside the heater position and the high outlet on the opposite wall at this stage, because cutting them afterwards means cutting through the barrier you are about to install.
Leave a route for the heater circuit and the light circuit. Conduit in now, not chased in later.
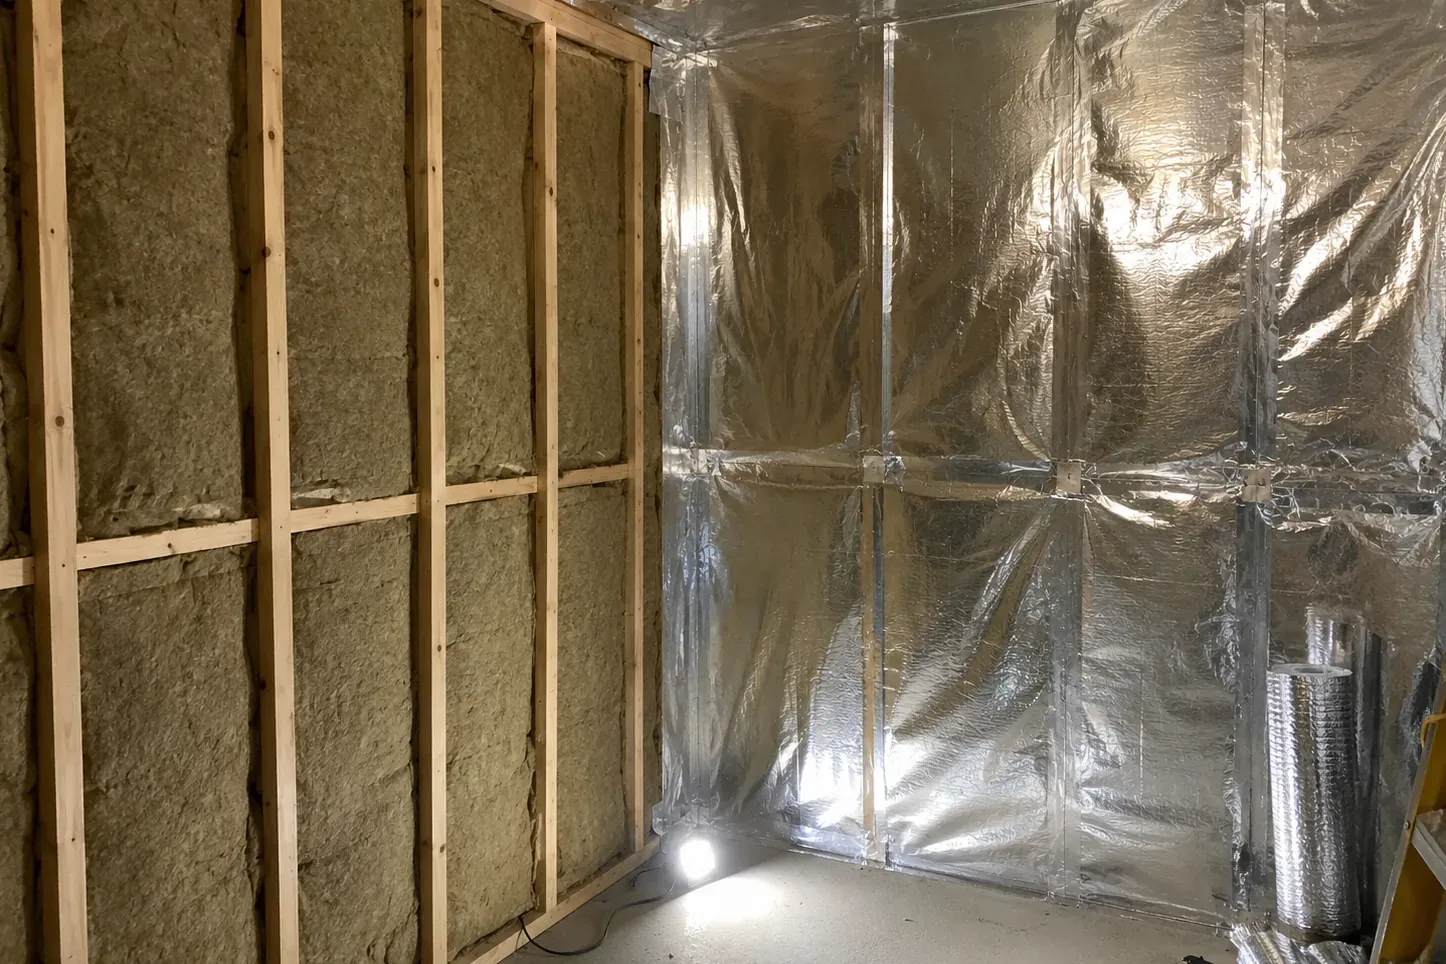
3. Insulate, 50mm minimum
Mineral wool between the studs, packed but not compressed. Compressed insulation loses much of its value. In an outdoor cabin go to 70mm.
Do not use foam boards that are not rated for the temperature. The cavity behind the cladding reaches well over 60°C in operation.
4. The vapour barrier — the part that decides everything
Aluminium foil barrier over the insulation on the warm side, shiny face inward. Overlap every joint by 100mm and tape every overlap. Tape around every penetration.
Do not staple through the face of it. Staple holes let moisture into the insulation, wet insulation stops insulating, and the failure is invisible for two or three years until the cabin smells and the timber moves. If you take one thing from this page, take this.
5. Battens, then cladding
Vertical battens over the barrier create a 20mm ventilated cavity between barrier and cladding. This lets the back face of the timber dry and is skipped surprisingly often.
Cladding in Nordic spruce, hemlock or thermowood. Fix with hidden fixings or from the tongue — no fixing head should ever be exposed on a wall someone might lean against.
6. Benches, and the timber that matters
Knot-free abachi or aspen, always, even if the walls are cedar. Knots conduct heat far faster than surrounding timber and reach skin-burning temperature in a room at 90°C.
Slats spaced 8mm apart for airflow, fixed from underneath. Upper bench at roughly 1.1 metres from the ceiling so a seated adult's head is in the hot layer. Lower bench about 400mm below it. Add a backrest.
7. Heater, stones and electrical second fix
Heater mounted to the manufacturer's clearances — these are not suggestions, and undersized clearances are a fire risk as well as a warranty problem. Dedicated 32A circuit for a 6kW unit; three phase from 9kW.
Controls outside the cabin. Temperature limiter fitted. Stones stacked loosely so air moves through the element rather than packed tight.
8. Commission it properly
Run a full heat cycle. Check the temperature at both bench heights, not just at the control sensor — a difference of more than about 10°C between upper and lower bench means the ventilation is wrong.
First heat produces a smell from the timber. Run it hot for an hour with the vent open before anyone uses it.
What we would not attempt as a self-build
The electrical work, unless you are qualified. A 6kW heater on a dedicated 32A circuit is not a socket outlet, and in the UAE the certification matters for both insurance and any future property sale.
Anything where the cabin ceiling is above 2.4 metres or the room shape is irregular. Sizing and airflow both get harder fast, and the cost of getting it wrong is the whole cabin.
If you would rather not do it yourself
Sauna room installation is what we do, and the electrical work in particular is worth handing over — certification matters here for insurance and for any future property sale. Sauna heater sizing and supply covers the calculation if you only want the equipment.
As sauna room contractors we hold carpentry, insulation, glass and electrical second fix under one contract, which is the point. We are sauna and steam room contractors in Dubai working across all seven emirates.